The ability to create a ChatGPT plugin is a real game changer in accessing more information and extending this AI tool’s limits. In this guide, I will show you how to create ChatGPT plugins step by step, using ChatGPT prompts to do all the coding work for you!
That’s right.
You can create your own plugin without hiring any plugin developers or knowing any programming yourself.
Related: Check out all of the official ChatGPT plugins you can install today.
Requirements to Build and Run Your Own ChatGPT Plugin
- ChatGPT Plugin access (currently in beta)
- ChatGPT 4 (paid)
- An API
- Replit account
Plugin Access
To run any of the plugins you create, you need to have access to ChatGPT Plugins, which is currently in beta.
To join the waitlist for plugins, click here and then click on the Join Plugins Waitlist button.
You can still create plugins for later, but you won’t be able to run or test them until you are given access.
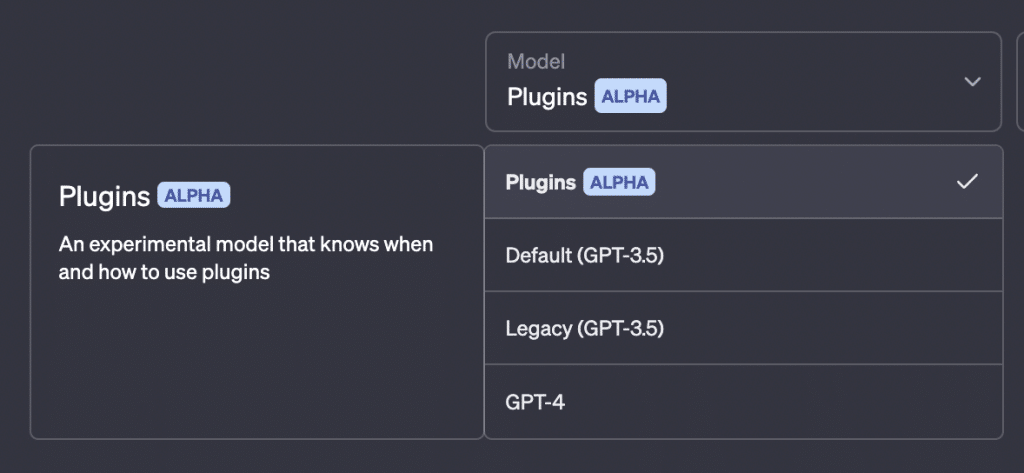
ChatGPT 4
GPT 4 is only available to paid ChatGPT users for $20 monthly. It is required for this tutorial because GPT 4’s ability to generate usable programming code is much better than GPT 3.
You can pay for and access GPT 4 from the official ChatGPT interface by going to your account settings.
API
An API is an application programming interface that serves as the middleman between you and another website with information.
Most ChatGPT plugins will communicate with an API and use the information it gets back, combined with its GPT-4 logic, to give you results.
APILayer has some examples of APIs you might use to create a ChatGPT plugin, but you might have your own ideas too.
Replit
Replit is a browser-based code interpreter and editor (IDE) that ChatGPT will communicate with to run your API code. Replit will execute code for you in a browser and is easy to get started with..
Sign up for a Replit account because you need it to get your plugin up and running.
ChatGPT Plugin Components
There are a few different components to our ChatGPT plugin that you should know:
- Python App: This is the app stored on Replit that communicates with the API you’ve chosen.
- API Endpoints: These are touchpoints between ChatGPT and the API that you want to get data from.
- Manifest File: Your manifest file contains instructions about how ChatGPT can interact with your API endpoints.
- OpenAPI Definition: This is a documentation file describing your plugin and how it works. It is a wrapper that sites on top of the API to give ChatGPT guidance about how to access it.
How to Create a ChatGPT Plugin
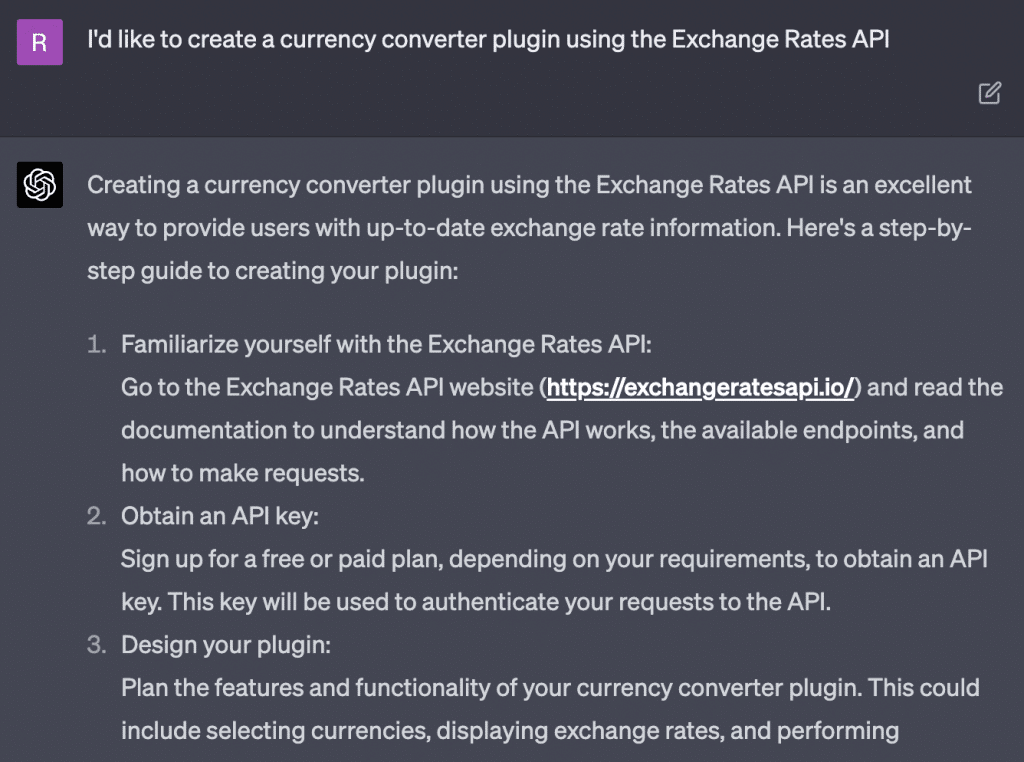
Tell GPT You Want to Create a Plugin
To start, tell ChatGPT what you want to do so that you can prime it for future inputs. Say something like “I want to make a ___ plugin that does ____. What APIs can we use?” or “I want to use the ___ API to create a plugin that does ____.”
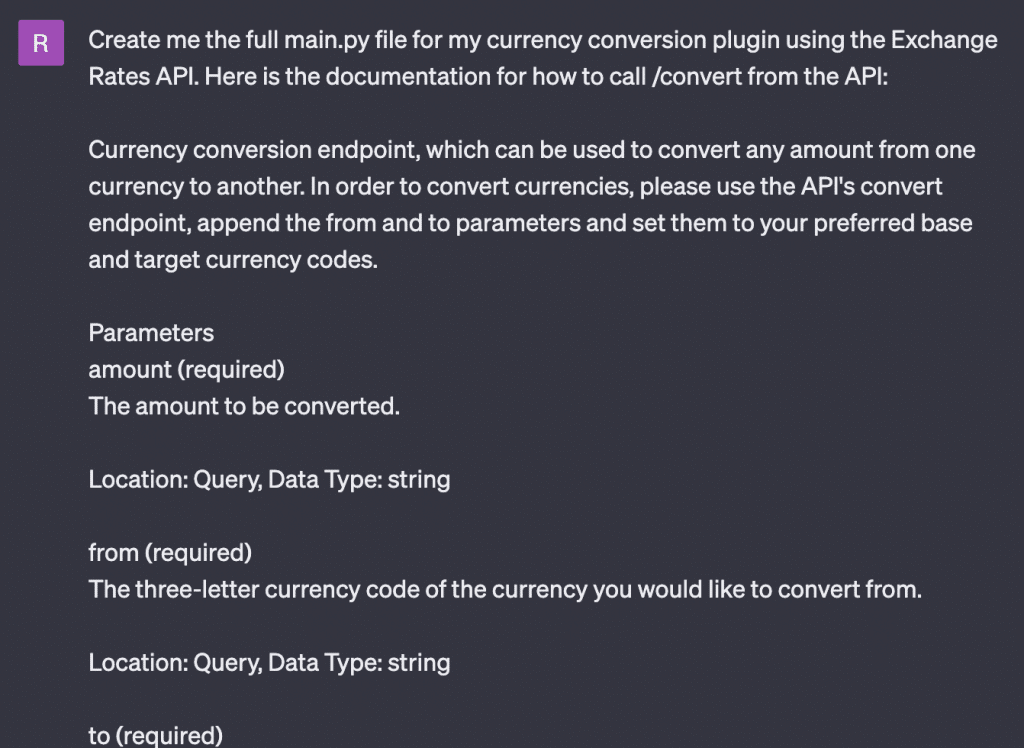
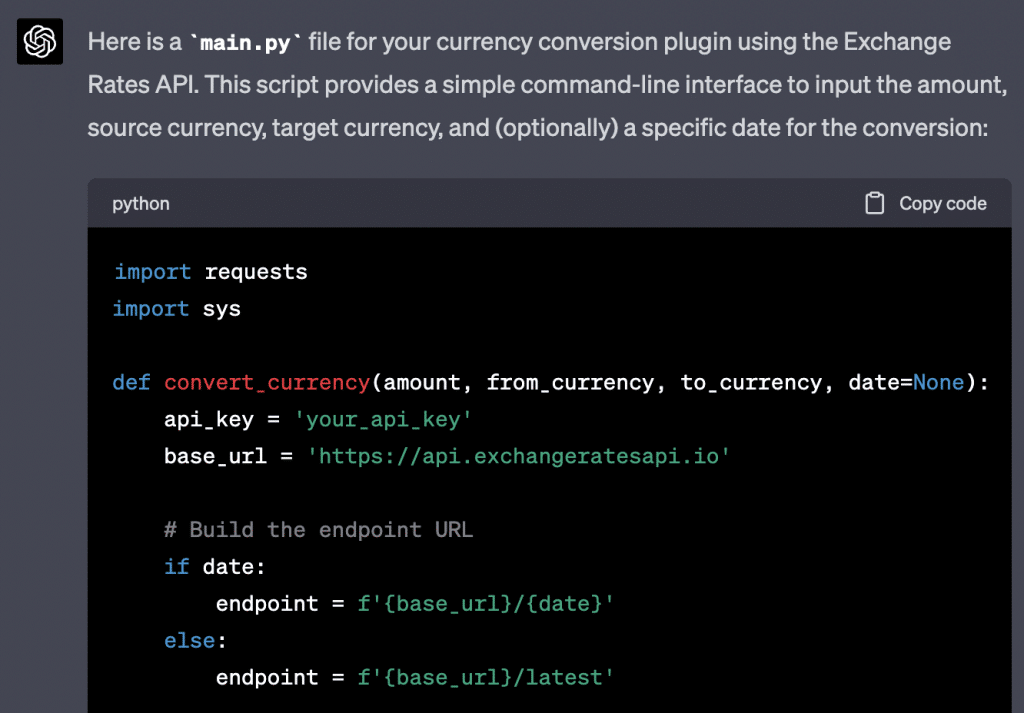
Create main.py file
The main.py code is the main code that will run on Replit. To get ChatGPT to generate you your file, say “Create me a complete main.py file that interacts with the __ API. Here is the API documentation.” and then paste in the excerpt documentation. Make sure to include any sample code and information to help ChatGPT create you accurate Python code.
Paste into Replit and Setup Your API Key
Paste your main.py code into Replit.
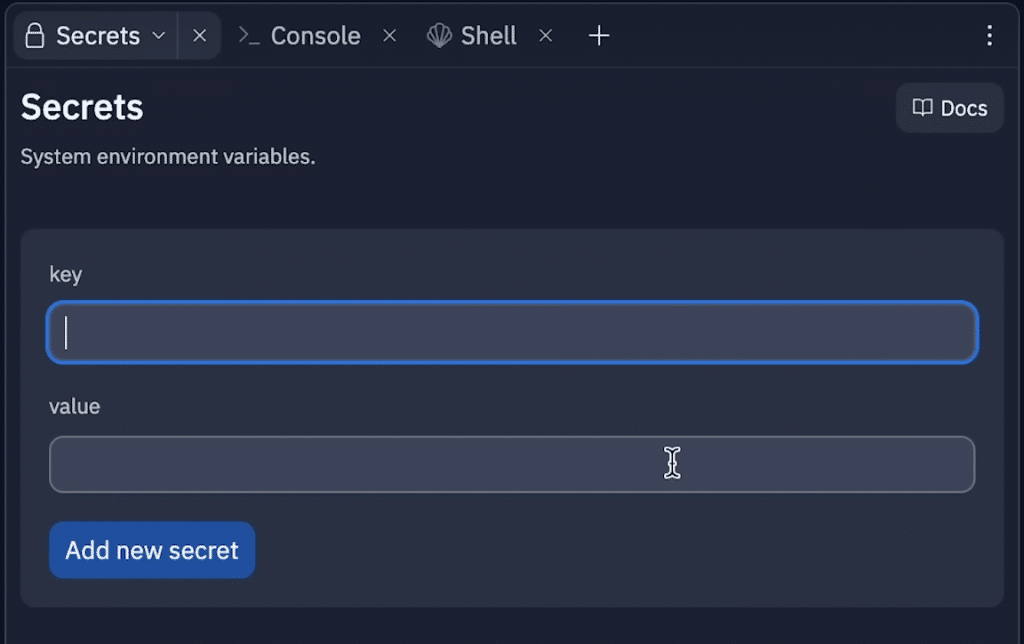
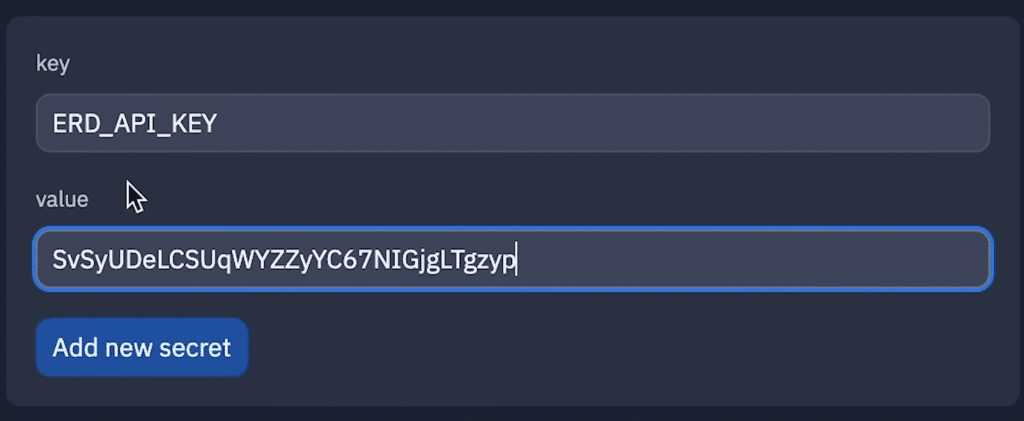
Since you want your API key to be hidden, you want to select the Secrets tool on the left side and create a key name with your API key as your value. Use the documentation given by Replit to add your key as an import and then access your key in the right spot in the code.
Create Your API Endpoints
Now, you want to create API endpoints for the python code you created. To do this, prompt ChatGPT as follows:
I now need an API endpoint created for my ___ function and a web server created based on my code below:
Insert final Main.py Code Here
ChatGPT should recommend using a web framework like Flask and then will provide you with your API endpoint code.
Overwrite your main.py code with this new API endpoint code!
Create the Manifest File
To create your manifest file in ChatGPT, prompt it:
Write me a manifest file for my app. Here is the code:
*Insert Code Here
END OF CODE.
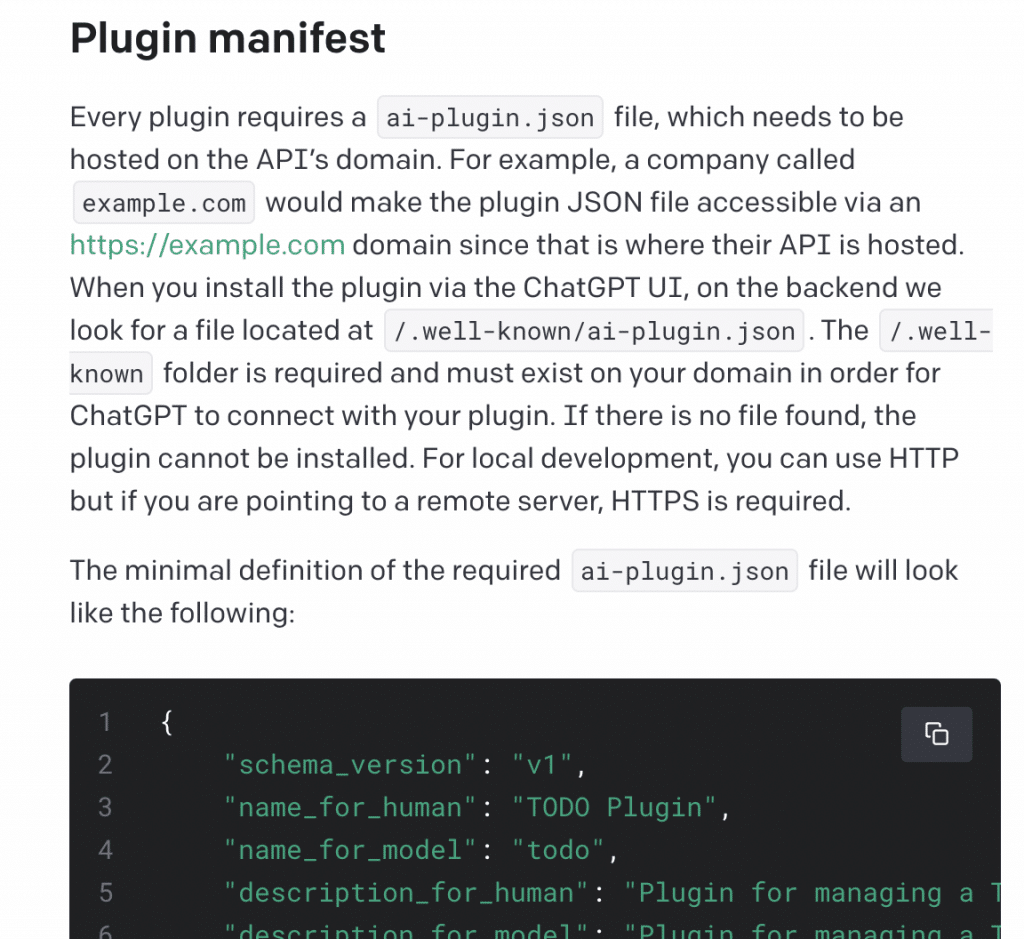
Here is the documentation for the manifest file and an example:
*Insert Manifest example
Paste in your latest main.py code into the prompt. Add “END OF CODE” so that ChatGPT knows when your code is done.
For the Manifest example, copy all of the text under the “Plugin manifest” section in the Open AI documentation here.
Add Manifest File to Replit
Copy the manifest code that ChatGPT creates and head back to Replit. Create a new file called ai-plugin.json and then paste in your manifest code into this json file.
Important: delete any spaces and underscores in your name_for_model variable.
Create OpenAPI Definition
Next, you have to create a documentation file that explains what your plugin does and how ChatGPT can interact with the plugin.
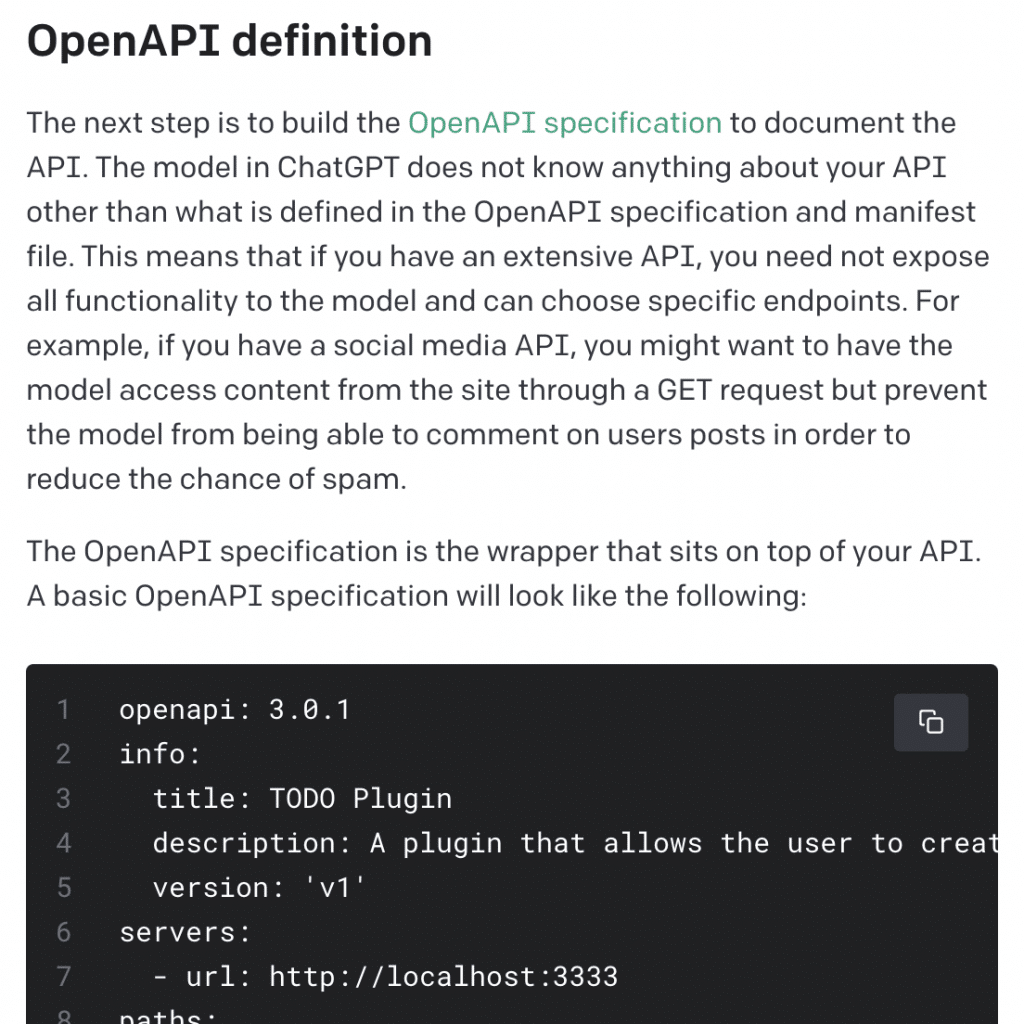
To create your definition in the easiest way, copy the OpenAPI Definition section from the OpenAI documentation and prompt ChatGPT as follows:
Write me an OpenAPI definition for this app:
*Insert documentation here
Add OpenAPI file to Replit
Back in Replit, create another file called openapi.yaml and paste in your documentation.
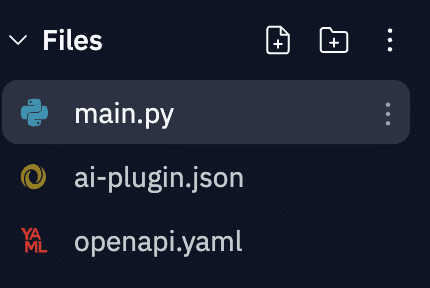
Add App Routing to Main.py
When you host your plugin so that you can add it to ChatGPT’s library, you have to setup routing for your ai-plugin.json and openapi.yaml files. Add this code to the bottom of the main.py file:
@app.route(‘/.well-known/ai-plugin.json’)
def serve_ai_plugin():
return send_from_directory(‘.’,
‘ai-plugin.json’,
mimetype=’application/json’)
@app.route(‘/.well-known/openapi.yaml’)
def serve_openapi_yaml():
return send_from_directory(‘.’, ‘openapi.yaml’, mimetype=’text/yaml’)
You also need to add send_from_directory to your from flask import line at the top of the file.
Install and Setup Waitress
In Replit, you must install Waitress, a production-level environment suitable for running your web applications on a server.
Click on Shell under the Tools menu in Replit and type pip install waitress in the shell window that opens on the right.
Underneath the import OS line in your code, add a line that says from waitress import serve
Finally, at the bottom of the main.py file, add this code:
if name == ‘__main__’:
serve(app, host=”0.0.0.0″, port=8080)
Run Application
Hit the Run button and Replit will open up a browser page to tell you that your plugin is now being hosted on the internet.
Replace Your Default Domain Names
Copy the repl.co URL from the webview and in both the ai-plugin.json and openapi.yaml files, you’ll need to replace your-domain.com with the URL Replit gave you.
Install in ChatGPT
Head back to ChatGPT and switch your model to Plugins. Remember, you need to be given access in order to see this model option.
Click on the Plugin Store > Develop Your Own Plugin > My Manifest is Ready
Paste in the base URL provided by Replit and click on Find Manifest File
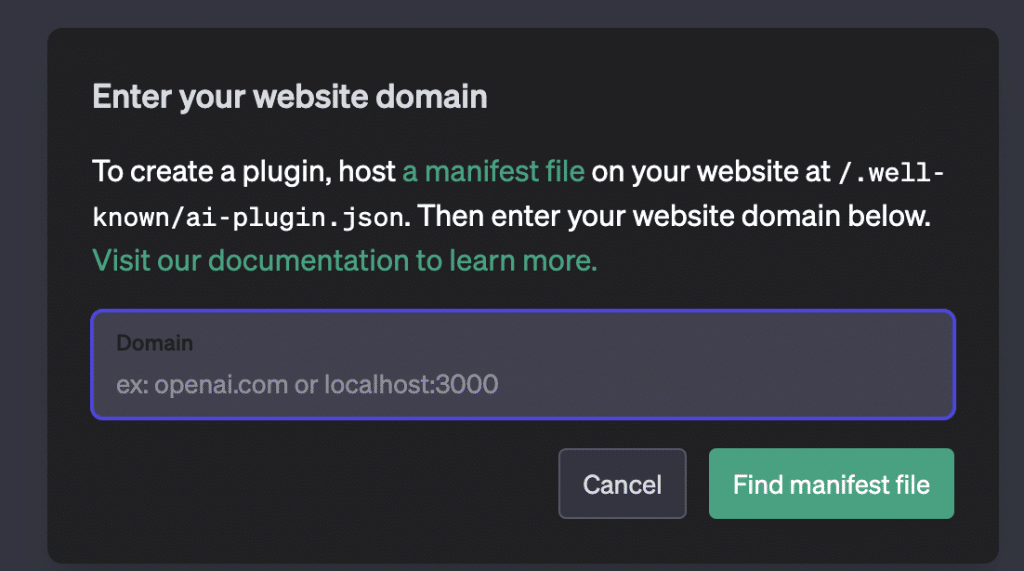
And that’s it! Click Next, Install For Me, Continue, and Install Plugin to finish up your install.
Video Tutorial
Having trouble learning how to create a ChatGPT plugin? Check out the video guide below to get up and started:
Conclusion
As you can see, it only takes a few steps in order to create a plugin for ChatGPT that interacts with an API and lets you get custom information back. Once you know how to generate the three files, things should go smoothly.
If you have any questions on creating your production apps and extensions, comment down below and let us know!
Frequently Asked Questions (FAQs)
How do I add plugins to ChatGPT?
To add plugins, you must have been given access from OpenAI first. Once you are in, you can change your model to Plugins and access the official plugin store or add your own third party plugins.
What are plugins for ChatGPT?
Plugins for ChatGPT are additional features, tools, or integrations that can be added to enhance ChatGPT’s capabilities and functionality. They can help customize the chatbot’s behavior, access external APIs, or provide domain-specific knowledge to improve the user experience.
How to create OpenAI ChatGPT plugins?
To create your own ChatGPT plugins, you can prompt ChatGPT to write most of the code. Once you understand the files needed to get a plugin up and running, you can easily create your plugins.
Are ChatGPT plugins free to create?
Yes, it is free to create ChatGPT plugins. You won’t be able to install them or use them unless you’ve been given beta access to the Plugins model.

![How to Create ChatGPT Plugins... with ChatGPT! [Step by Step] how to create chatgpt plugins step by step tutorial guide](https://findnewai.com/wp-content/uploads/2023/04/how-to-create-chatgpt-plugins-step-by-step-tutorial-guide-300x225.webp)