
Generative Fill is an exciting new feature in Photoshop that lets you automatically add, remove, and adjust objects in your pictures with artificial intelligence. In this guide, I’ll show you exactly how to use Generative Fill in Photoshop AI to perform tasks that use to be impossible!
We’ll go over:
- How to get access to Generative Fill in Photoshop
- How to add new things or remove unwanted elements from your pictures
- How to place your objects on a new background
- Creative ideas for how to use AI in Photoshop
- Tips for getting better results
If you need more help using Photoshop generative fill, comment below and let us know!
What is Generative Fill?
Generative Fill in Photoshop AI is a powerful feature that utilizes artificial intelligence to automate various image editing tasks using simple text prompts. It saves you a ton of time and effort while achieving impressive results.
With simple text prompts, you can achieve astonishingly realistic results that will captivate, amaze, and inspire you — all within seconds. Generative Fill seamlessly aligns your image’s perspective, lighting, and style, making previously manual tasks enjoyable using AI.
Generative Fill is the AI version of the old Content Aware fill option. Content aware was good as extending or blending your images based on its surroundings. Now, Generative Fill uses artificial intelligence to get more accurate results. Generative Fill is like ChatGPT for graphic designers.
How to Get Generative Fill in Photoshop AI
Using Photoshop AI Generative Fill is incredibly easy. To get started, you must create an Adobe account. If you already have one, feel free to proceed below, where I’ll show you exactly how to use generative fill.
Create an account
- Visit the Adobe Website and locate the “Sign in” option at the top right corner. Proceed by clicking on it, then select “Create an account.”
- Select one of the available options – email, Gmail, or Apple – to create your account.
- Adobe will send a confirmation link to the email address provided. Ensure to confirm your account by clicking on the link.
- After confirming, you will gain access to the Adobe Creative Cloud desktop app.

Install the Adobe Creative Cloud App
- Click the “Download” button on the Adobe website.
- Navigate to “Apps” and select “Creative Cloud desktop app” for downloading.
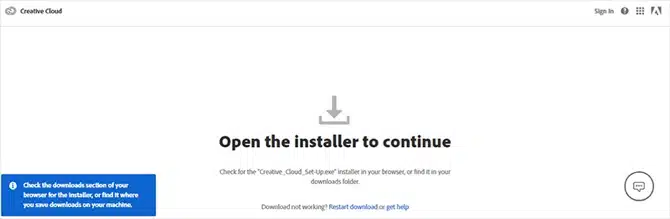
- After the download is complete, double-click the file to initiate the launch.
- Observe the on-screen instructions to install the application.
- After installation, launch the app and sign in using your Adobe ID and password.

Install Photoshop (Beta) and start using Generative Fill
- Launch Creative Cloud on your desktop.
- Locate the categories section on your screen’s left side and click “Beta apps” in the toolbar.
- Find the “Beta apps” tab/folder and install Photoshop (Beta).
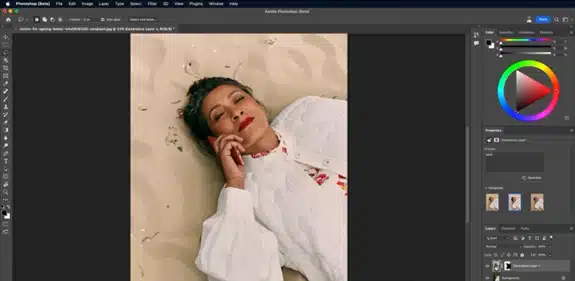
- After successful installation, open the Photoshop (Beta version) application.
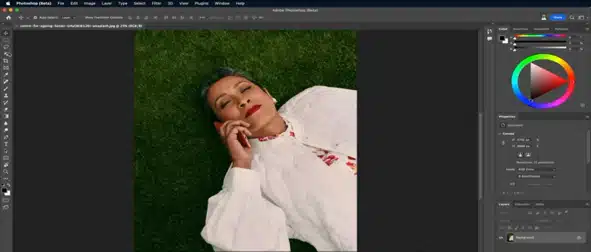
- Select an image that you want to edit.
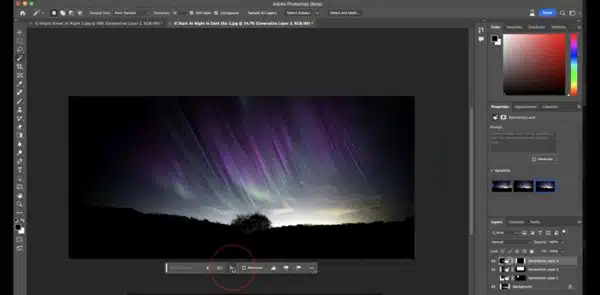
- Look for the grey ‘Contextual’ Task Bar beneath the image. If it’s not visible, click “Windows” at the top of your screen and choose “Contextual Taskbar” from the options.
- Utilize the regular image selection tools or click “select image” to access the Generative Fill tool and begin editing.

What about Adobe Firefly?
Adobe Firefly is for Enterprise. It is a new platform for its Firefly generative AI model. This platform aims to assist organizations in meeting the increasing demand for content creation across their workplace.
With Adobe Firefly for Enterprise, every employee within a company can generate images or copy text-based descriptions, even if they lack creative skills. These generated assets can be utilized in various areas, such as marketing campaigns, social media promotions, and corporate presentations.
Enterprise users can access Firefly, including the standalone Firefly application, Creative Cloud, or Adobe Express, Adobe’s cloud-based design platform. Furthermore, businesses can integrate Firefly into their ecosystem by training the AI model with their branded company assets.
This integration enables Firefly to produce images and copy that align with the brand’s style.
What Can You Do With Generative Fill in Photoshop AI?
You can do the following with Generative Fill:
Remove Objects
Generative Fill can intelligently analyze an image and seamlessly remove unwanted objects or elements. This can be useful for eliminating distractions or blemishes from your photos.
Change Your Background
If you want to replace the background of an image, Generative Fill can help by generating a new background based on the existing image or a reference you provide. This can be particularly helpful for compositing photos or creating a unique setting for your subject.
Change Your Objects
With Generative Fill, you can modify specific objects within an image. You can change their shape, color, texture, or other attributes while maintaining overall visual coherence.
Replace Objects with Another
If you wish to replace a particular object with a different one, Generative Fill can assist in generating a new object that matches the context and surroundings of the original image. This allows for seamless object replacements.
Add Objects from Nothing
Generative Fill can also create new objects that don’t exist in the original image. The AI model can generate realistic objects and seamlessly blend them into the scene by understanding the visual context.
Extend Your Canvas
If you need to expand the size of your canvas, Generative Fill can generate additional image content to fill the extended areas. Generative Fill works great to enlarge an image without losing quality or filling in gaps after removing objects.
Requirements to Use Generative Fill in Photoshop AI
You must meet these requirements before using Generative Fill:
- Paid Adobe Photoshop Subscription: A paid Adobe Photoshop subscription is crucial as the Adobe AI Generative Fill feature is only available to paid users.
- Age Requirement: To access the Adobe AI Generative Fill feature, you must be 18 or older. Even if you have a paid Photoshop subscription, the feature will not be visible if you are below 18 years old. Please ensure that your account’s date of birth reflects your correct age.
- English Language Support: Currently, the new AI Generative Fill feature only accepts prompts in English. It is not compatible with other languages at this time.
- Unavailability in China: This feature is not available in China. However, Adobe plans to make the feature accessible to all customers in the second half of 2023.
How to Use Generative Fill in Photoshop AI
Below is a detailed step-by-step guide on how to use Generative Fill in Photoshop AI.
Generate an object
Make a Selection – Use any selection tool available in Photoshop to choose a desired object or area in your image.
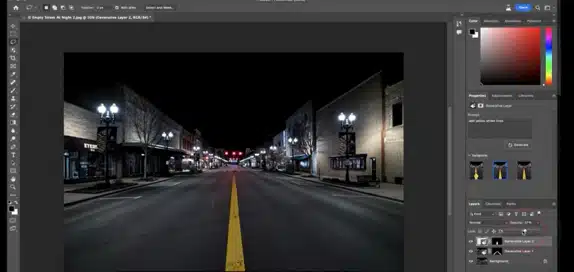
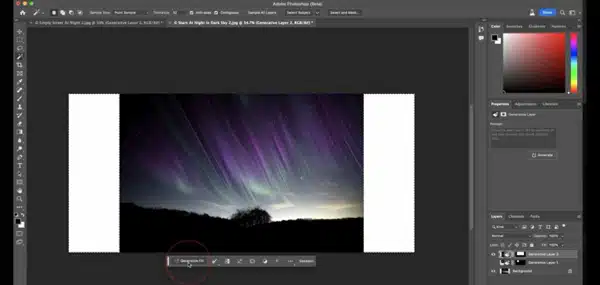
Access Generative Fill – Click on the Generative Fill button located in the contextual taskbar that appears.
You can also access Generative Fill through any of the following options:
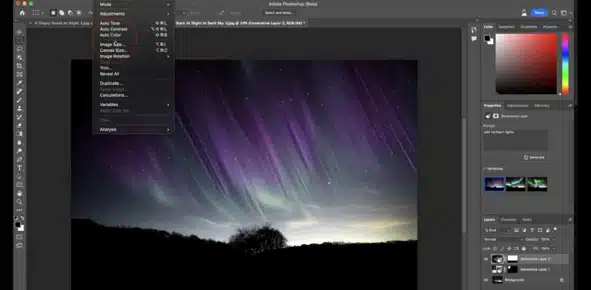
- Navigate to Edit > Generative Fill from the application bar.
- With an active selection, press Ctrl/Right-click and select Generative Fill from the menu.
Enter your Text Prompt – A text-entry prompt box will appear in the contextual taskbar. In this box, you can use plain-text English to describe the object or scene you want to generate in your image. For example, “add yellow street lines.”
Generate Variations – Once you have completed your text prompt in the contextual taskbar, click the Generate button.
Generate backgrounds
- Select the background behind your subject, and then use a text prompt to generate a new scene.
- To accomplish this, go to the Select menu and choose “Subject,” followed by selecting “Inverse.”
- Then type in a prompt. For instance, “change the background.”
- Hit the Generate button.
Extend images
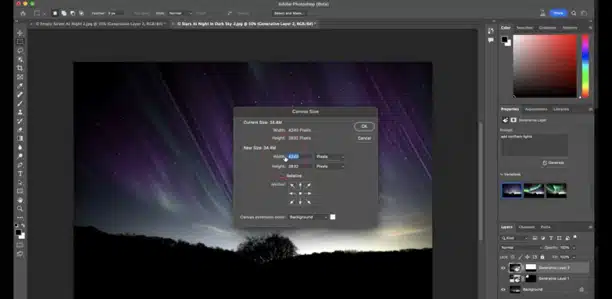
- Select canvas size
- The crop borders will appear along the edges of your photo. Drag the corner and edge handles outward to extend the size of your canvas.
- Once satisfied with the extended canvas, press Enter/Return on your keyboard or click the commit checkmark in the Crop tool options bar to apply the changes. By default, the extra canvas will use your background color.
- Use the Rectangular Marquee tool to select the additional canvas area. Click and drag to create a selection that encompasses the newly added canvas.
- Leave the description blank and hit generate.
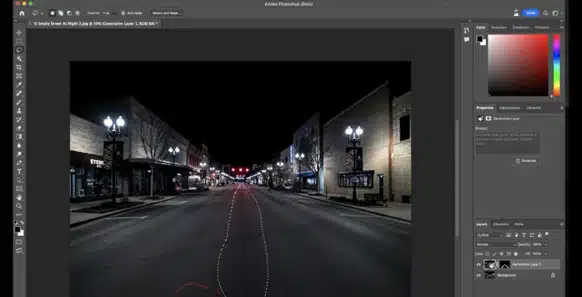
Remove objects
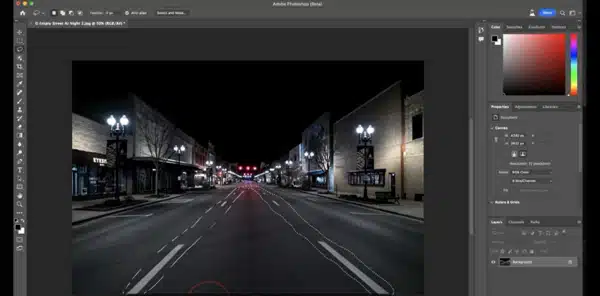
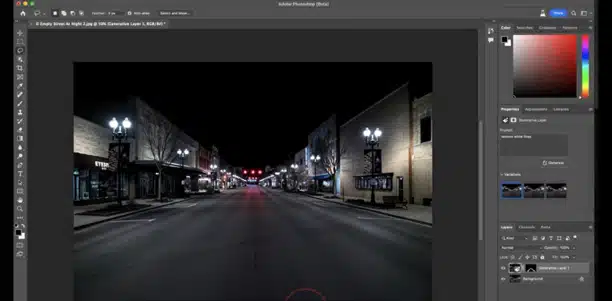
- Select the object you want to remove.
- Type your intention in the text prompt box. For instance, remove white lines.
- Click “Generate,” and the white lines will be deleted.
If you wish to fill the selection based on your image’s surroundings, leave the text-entry prompt box empty after clicking Generate.
Tips and Tricks While Using Generative Fill
Here are some tips and tricks to maximize your use of Generative Fill:
Craft effective text prompts for impressive results
Keep your language simple and direct, using 3-8 words with a subject and descriptors.
Instead of using commands like “add” or “remove,” focus on describing what you want to see. For example, a prompt like “A house in the woods” can be enhanced with descriptive keywords like “A red house in the woods.”
Click Generate to explore multiple options based on your prompt.
Use layers for non-destructive editing
When you click Generate, the visuals based on your prompt appear on a new Generative Layer. Take advantage of Photoshop’s layer functionality to move and experiment with different images or objects until you achieve a composition you like.
Combining multiple generated images can yield unexpected and creative results.
Select a sufficient portion of the image for extension
If you want to extend an image, make a selection that provides enough reference pixels for the AI model.
Ensure your selection is sufficient so the model can extend your image while seamlessly blending and maintaining coherence with the original content.
Harness the power of Photoshop for further enhancements
Once you generate a new image, leverage Photoshop’s comprehensive set of tools to transform, edit, remix, or composite your image.
The Photoshop (beta) app offers limitless possibilities for bringing your vision to life. Explore the vast array of features and unleash your creativity.
Conclusion
As you can see, Generative Fill allows you to push the creative boundaries within Photoshop by applying AI models to your images.
All of the commands get implemented in a new layer, which makes it really easy to enable or disable the prompts.
I think Generative Fill changes the game for graphic designers and pushes Photoshop back into the ‘must have’ category creators. What do you think?
Frequently Asked Questions About Generative Fill in Photoshop (FAQs)
How do I enable generative fill in Photoshop?
You can access this AI tool by pressing the button in the left toolbar. Alternatively, you can select Edit > Generative Fill from the menu to access it in Photoshop.
What version of Photoshop has generative fill?
Generative Fill s part of the Photoshop (Beta) update. Unlike the regular version of Photoshop, Photoshop Beta is part of Adobe’s new AI Generative models, which are called Firefly.